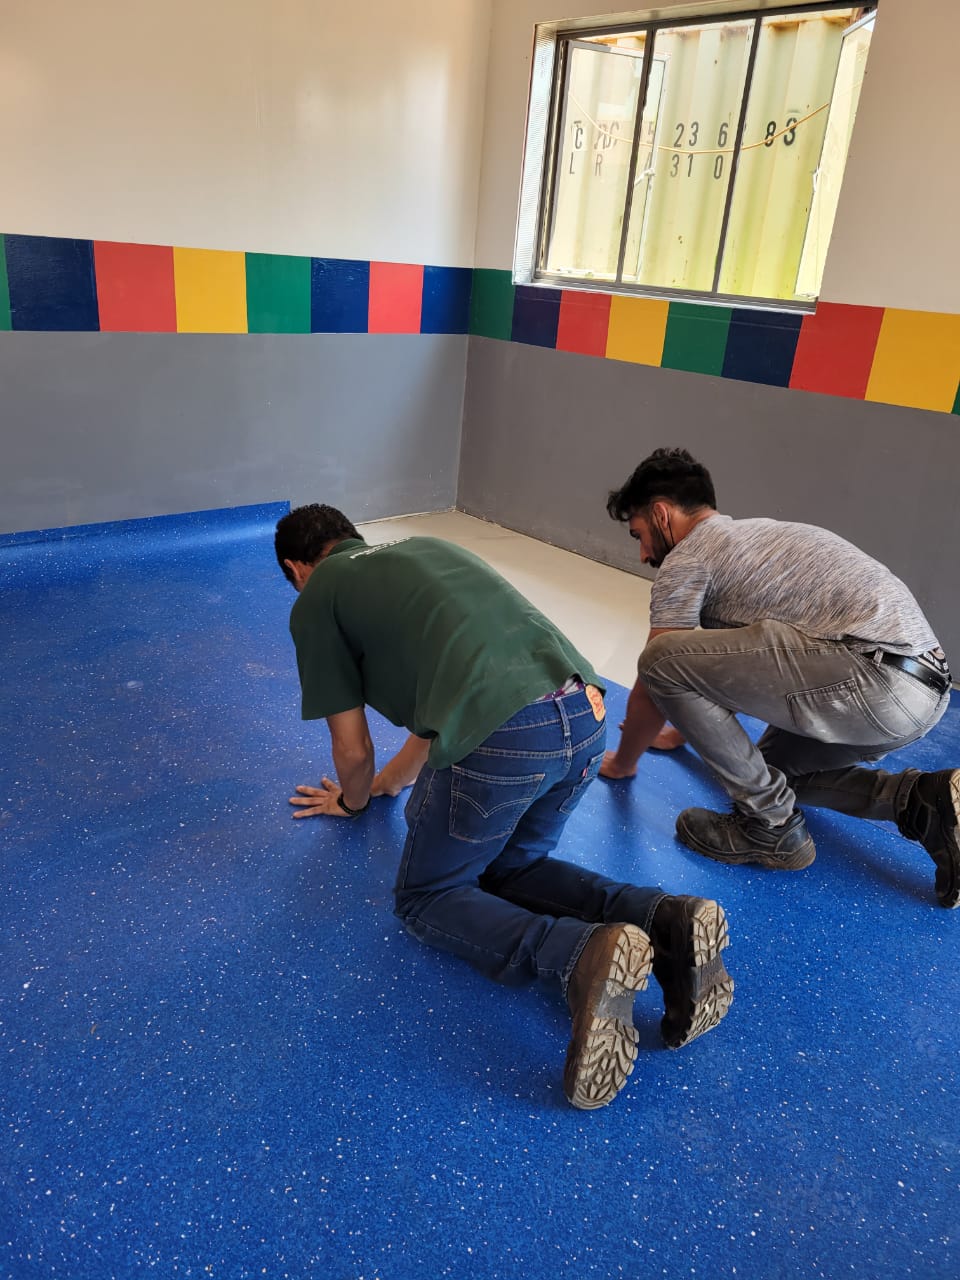
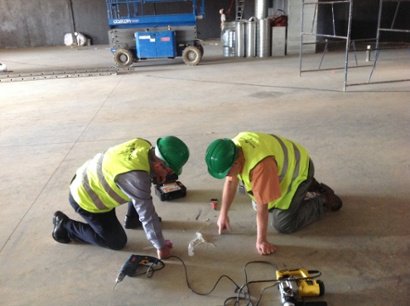
- Daily demands and deadlines often result in it being difficult to visit sites as often as intended.
Regular site visits are imperative for the success and smooth running of your project. These days it can be difficult to find the time to do everything required of you in a day but if this is compromised on, it may end up taking far more of your time than if daily site visits had been done and could have a negative impact on your relationship with your client.
- Have you notified your building and flooring contractor of your visit? Have you considered their schedule and obligations?
Empathy and consideration will go a long way in achieving a mutually beneficial outcome. Everyone has experienced a ‘last minute.com’ request and has had to juggle their schedules to allow for someone else’s lack of planning. In the flooring industry, strong and positive relationships can be the fine line between success and failure.
- Is the site ready for the vinyl installation? Is it free from other trades?
Don’t improvise! Too often flooring contractors are instructed to install the vinyl flooring when the site is far from ready, with disastrous effects. As the flooring expert, it is your responsibility to ensure that your client understands the requirements for a successful (and beautiful) vinyl flooring installation.

- Are the site conditions favourable for the flooring contractors? Is the lighting acceptable? Are the timelines achievable?
Projects too often run over with the flooring contractors having to work under tough conditions and having to meet unrealistic deadlines. This ultimately affects the quality of the installation and very often results in a costly re-do.
- Identify any structural expansion joints.
Structural movement will affect a vinyl installation and it is important to ensure the correct expansion joint covers are used over all the expansion joints to avoid any after-the fact comebacks.
-
Have saw cut joints been made? How deep are they?
When laying the screed topping, saw cut joints may have been specified to prevent cracking whilst the screed is drying. Best practice is that saw cut joints are approx. 40mm deep and that they were done with the floor plan and design considered.
-
Is the screed level, smooth and contaminant, dirt and dust free?
Vinyl will show imperfections in the screed and this step in the process is critical in producing a quality finish. Per the South Africa Standard Code of Practice 0155-1980 titled “Accuracy in Buildings”, the building contractor is ultimately responsible to produce a Class 1 screed.
A Class 1 screed is defined as “Permissible Deviation at any point under a 3m straight edge placed level in one direction, is no greater than a maximum of 3mm”.
Or in layman’s terms, should you place a 3m straight edge on the prepared subfloor, there should not be a gap below the straight edge of more than 3mm at any point along the 3m line. You should essentially not be able to insert more than a R2 coin under the straight edge at any point along the 3m length.
It is highly advisable to include a Class 1 screed specification in the preambles of your BOQ so that all contractors understand what is expected of them.
Recommended article: Correct installation of screed is both an art and a science, we have devised this infographic to help you to master the key elements of screed installation and to get it done right.

-
What thickness self-leveller was applied? Is it per your specification?
As the screed levelness is so vitally important and given the fact that realistically, there are very few contractors in the country today that can deliver a Class 1 screed, be sure to specify a self-leveller. Specify at least a 5mm thickness even though we recommend assessing the substrate to determine what thickness of self-leveller is required to attain an average of at least 5mm.
-
Is the screed soft or powdered and are there any visible cracks?
The screed must comply with at least 25MPa strength. Ensure there are no hollow patches and check for any cracks which could result in delamination of the screed.

-
That is the moisture content of the screed at 40% depth?
Vinyl and a wet substrate are archenemies. We recommend using a reputable moisture reading instrument such as a Protimeter or a Wagner meter which enables you to be able to read at depths of 40% and ensure you have no moisture issues. It is important to determine the moisture reading at this level as generally, the surface moisture evaporates fairly quickly but the moisture deeper within the screed may take longer to evaporate. It is guaranteed that moisture will rise to the surface once you install vinyl because of the moisture pressure equalising within the screed.
Should this deeper reading be acceptable, you will be assured that your substrate is ready to receive vinyl. A reading of 18 and below is recommended using a Protimeter and 75% RH and below when using a Wagner meter. It is also vital to conduct readings in different areas of the build as readings can vary vastly due to factors such ventilation, ground conditions etc.
Recommended article: If you are interested in finding out more about moisture testing, read our article Moisture testing like a pro!

-
Check surrounding areas for indication of excessive ground moisture ie. vlei, slopes, clay etc.
Ground conditions in the area can affect the moisture seeping into the structure.
Ground moisture very easily migrates through broken DPM, walling etc. and can cause a problem in the long term if not managed prior to installation.
-
Be mindful of the temperature at the time of installation.
The ambient temperature affects the adhesive curing period in the winter months. It is common to have installation issues at 12ºC and below and it is advisable to consult your adhesive and screed manufacturer to advise on best practice for their product.
-
What was the ventilation like over the drying period?
Poor ventilation causes adhesives to take longer to flash off, self-leveller longer to dry and causes a screed to powder. Excess ventilation is also not ideal as it could cause the screed to dry unevenly and settle differently, causing cracks and unevenness.
-
Is the correct material and adhesive on site? Check colour, batch and roll numbers.
It is common to experience some colour variation in different batch numbers. Ensure you have received stock from the same batch number and insist on sequential roll numbers. It is also very important to note the manufacturer’s recommendation on the correct adhesive to use per product, as an adhesive failure could result in the flooring manufacturer voiding their product warranty.
-
How were these rolls stored? Has the material been rolled out and left to relax and acclimatise?
Make sure to check the manufacturer’s recommendation as to product storage. Sheeting requires rolls to be stored upright whereas rubber stores flat. LVTs should not be stored in boxes of more than 5 boxes high.
In an ideal world, vinyl is best installed when it has been rolled out and left to relax and acclimatise. Material can develop kinks, indentations or memory and can become distorted. In reality, site conditions don’t always allow for this but it is still advisable to be mindful of this and implement where possible.
-
Is the Flooring Contractor’s installation team skilled on vinyl installations?
There is a dire skills shortage apparent in the flooring industry now and it is important that you have a skilled team managing your installation. Vinyl is a complex installation and demands a trained and professional team.
-
Have you requested a mock-up area on site?
Having a mock-up area to use as reference and to guide the installation teams is always recommended and ensures your final installation mirrors the mock up that was approved.
-
Is your manufacturer with you on site to assist and guide the process?
Your flooring manufacturer should understand the benefit of guiding you through the installation process and you have every right to insist on it. Their involvement will ensure a hassle-free process and a quality installation.